
 The Craftyguidelets are very lucky to go to a school where they can have piano lessons during the school day. Eldest started last year, and youngest has her first lesson today.
During the summer holidays, eldest Craftyguidelet reminded me that I had promised to make her a bag to put her piano books in last year. This prompted youngest Craftyguidelet to ask for one too. As we were standing in the fabric department in John Lewis, I was cornered. I am naturally weak when it comes to resisting the purchase of fabric anyway, so I bought some lightweight black denim for the main body of the book bags. Eldest Craftyguidelet chose the nice Tim Holtz music fabric, and youngest Craftyguidelet chose the owls.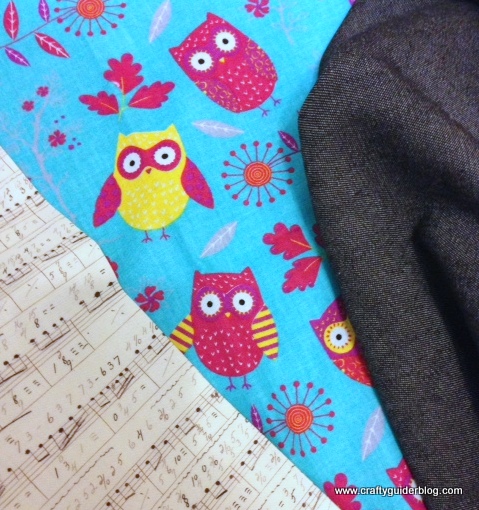
I was going to make book bags with a velcro fastening flap like their normal school book bags, but instead we compromised on a simple tote bag style (these bags were made the night before their lessons so I was going for the easy option!). My finished bag measures 41cm long x 30cm tall (excluding handles) so check the dimension of your books and adjust accordingly before putting scissors to fabric.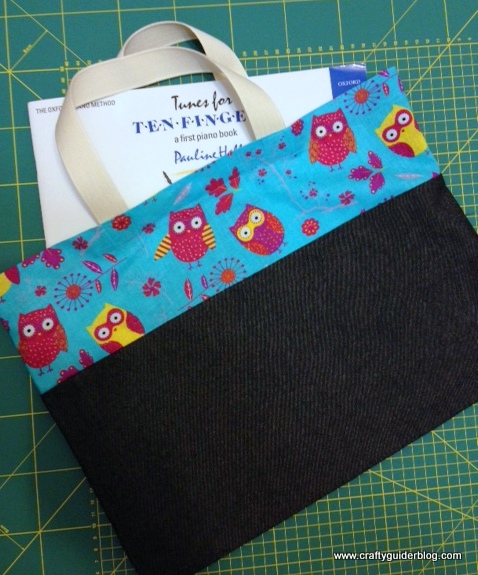
To make a bag you need:
* 1 piece of fabric 42cm x 46cm cut from main fabric
* 2 pieces of fabric 16cm x 46cm cut from accent fabric
* 2 pieces of webbing 45cm long
I’ve used a 1cm seam allowance unless stated otherwise.
1. With right sides together, attach one piece of the accent fabric to each end of the main fabric, matching the 46cm sides. 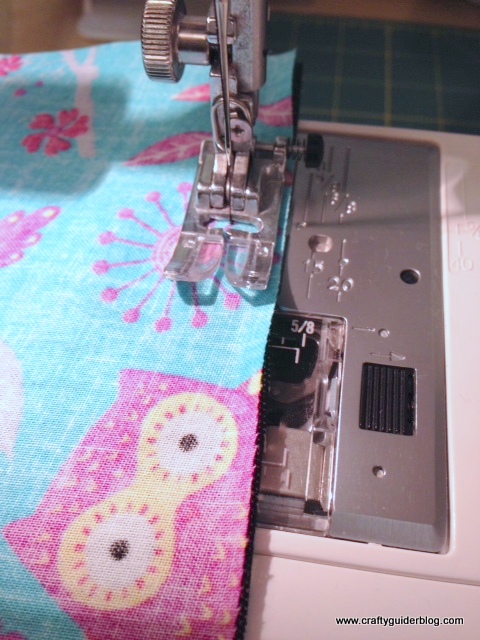 If your fabric design has a top and bottom, ensure the bottom of the pattern is next to your seam line or your owls will be standing on their heads!
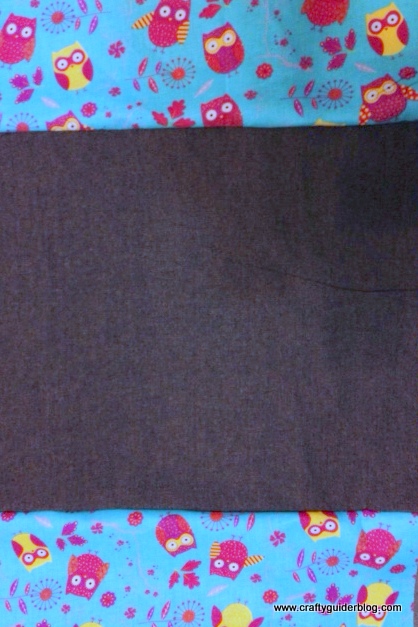 Neaten edges and press the seams flat.
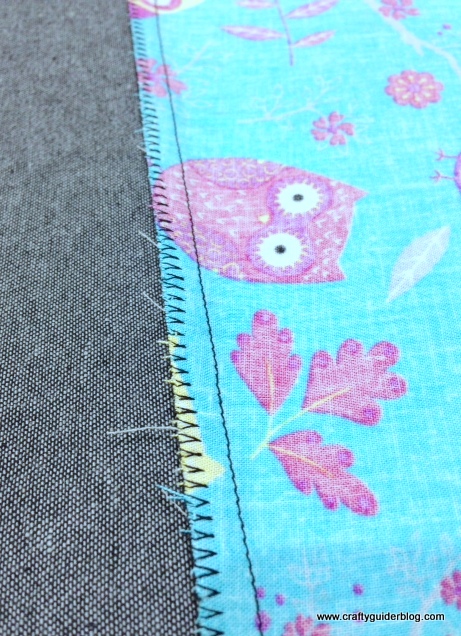
2. Prepare the hem for the top and bottom edges by ironing a small fold and then a larger fold to make an enclosed hem. I used 1cm and then 3cm.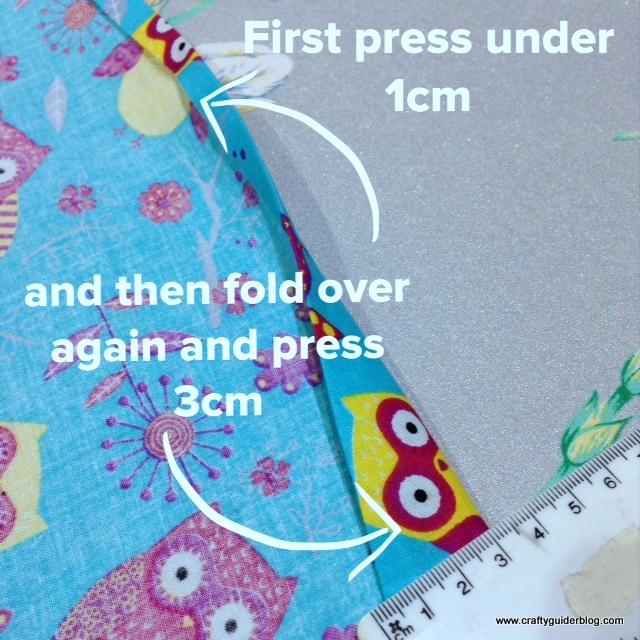
3. Position the handle 14cm from each edge under the fold you have just ironed. 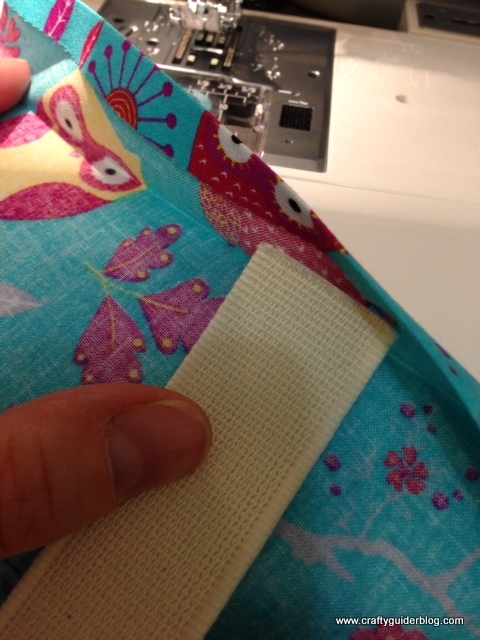 Fold the hem back over the handle and stitch the hem closed close to the edge.
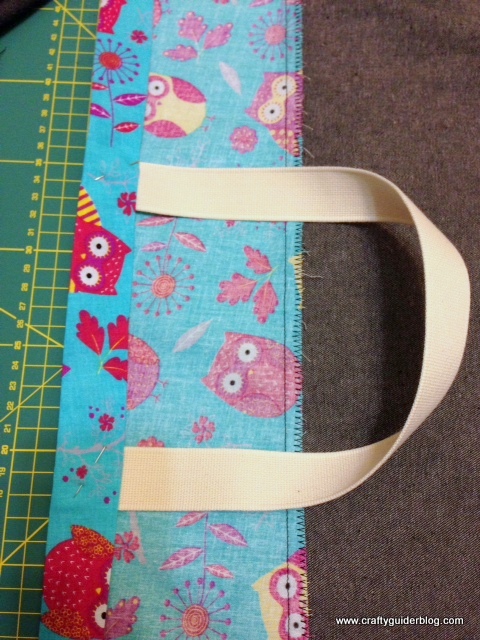
4. Fold the handles up and sew in a cross pattern to secure. Repeat for the other handle.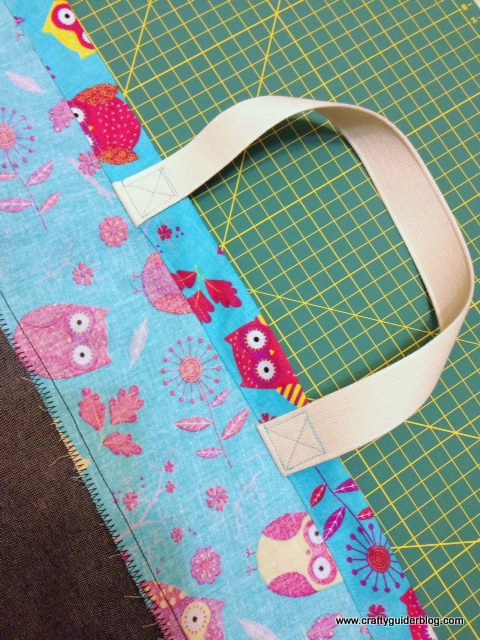 OCD and perfectionist crafters look away now.
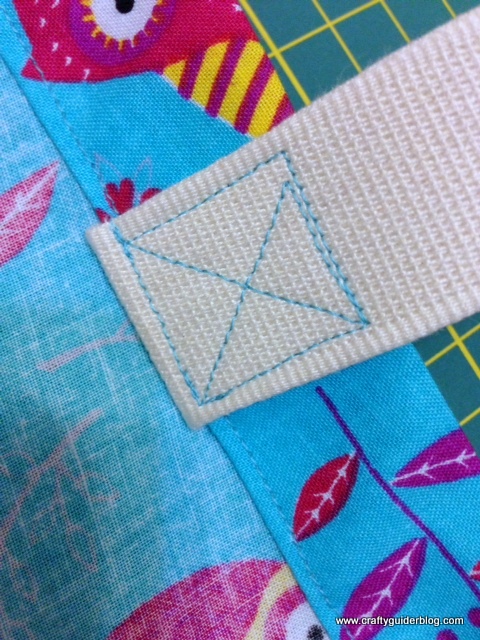 It was late at night when I did this so my cross isn’t sewn to my usual high standards!
5. Fold the fabric wrong sides together (yes, wrong sides!), matching the hems. Stitch the side seams. 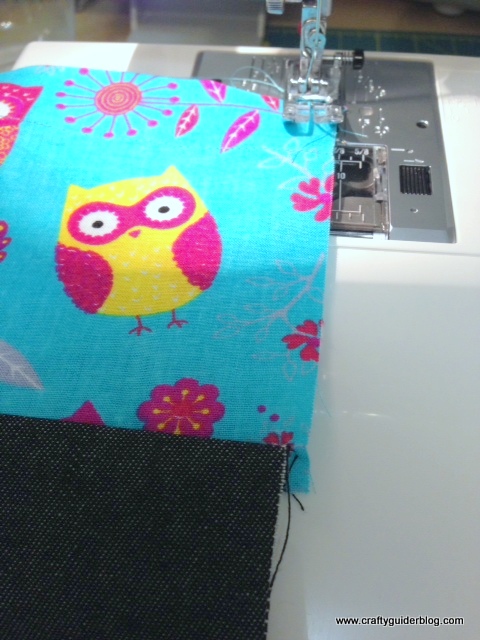 Trim the seam allowances slightly.
6. Turn inside out and stitch again to make a French seam, making sure you enclose the raw edges fully.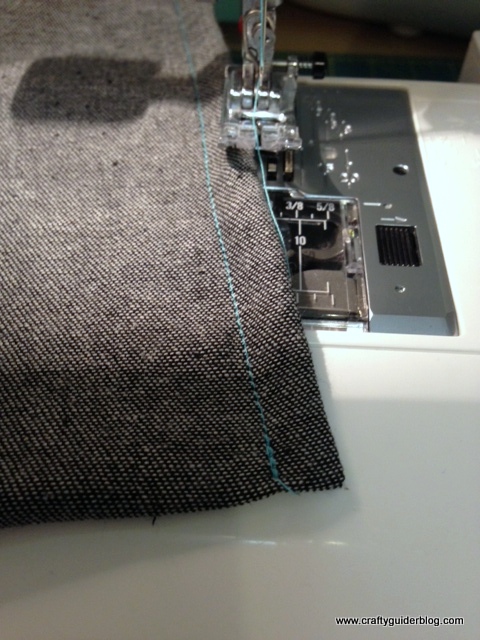
7. Turn right side out and press.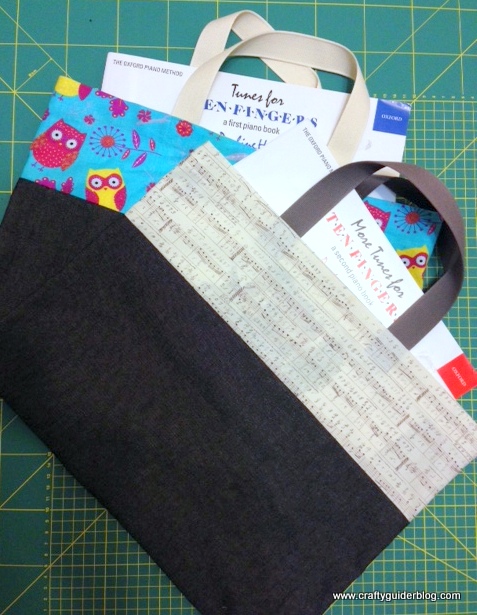 8. Marvel at the lovely bag you have just made in hardly any time at all!
You can use my tutorial to make bags for your own personal use only. Please do not reproduce the tutorial in any way without permission.