Goodbye 2017

Well, that was 2017.   Apart from this post, it’s been completely blog free and I’m OK with that.   Instead of worrying about keeping up with other people and joining in with every craft-along or instagram photo-a-day, I’ve done my own thing.

I managed to read 20 books and exceeded my target of 18.   Admittedly it was mostly chick lit and Harry Potter short stories, but I made time for reading and enjoyed it, which is what reading is supposed to be.

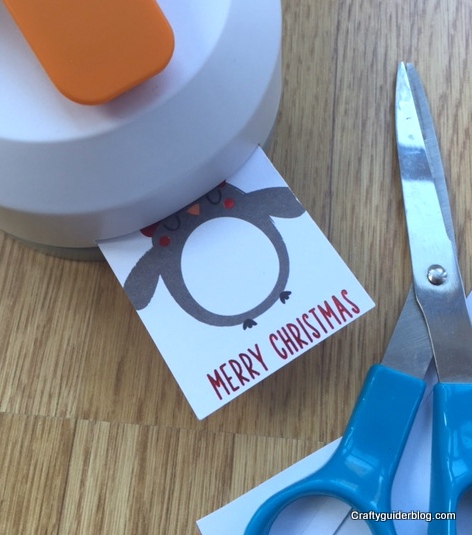
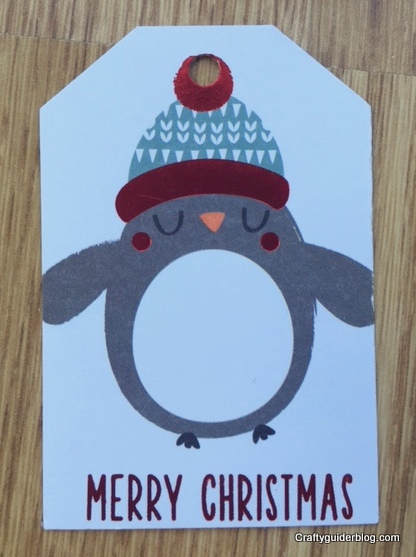
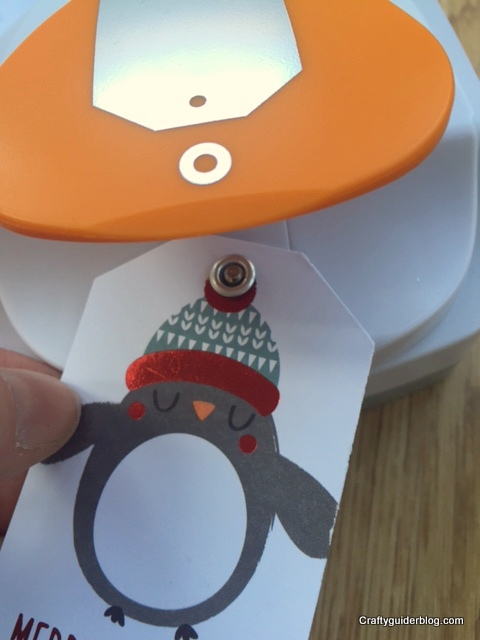
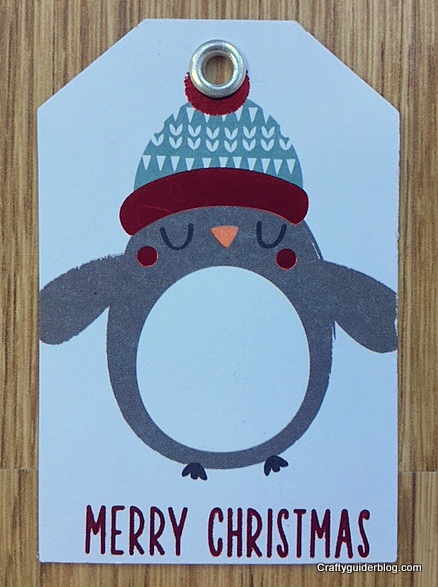
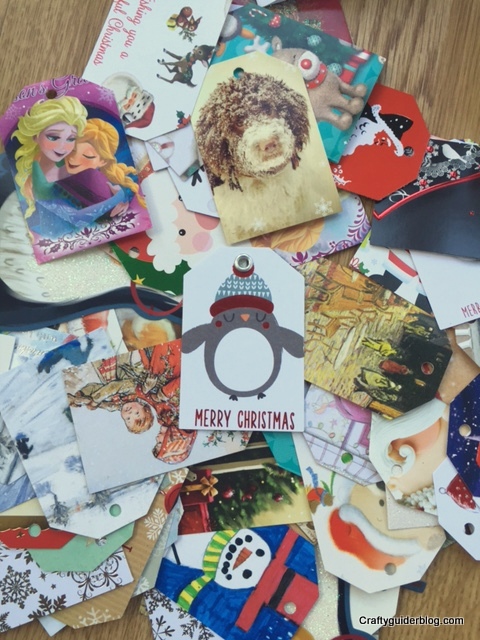
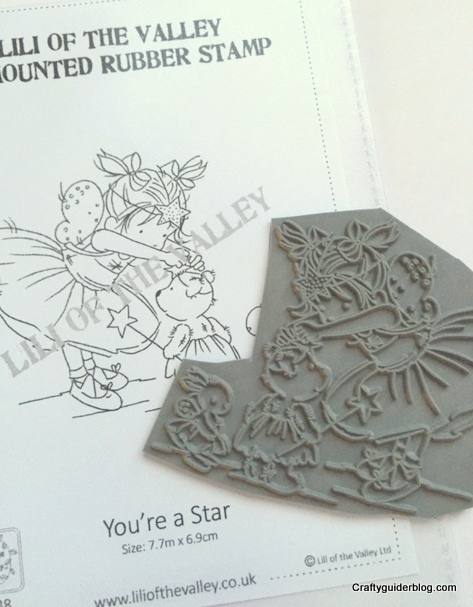
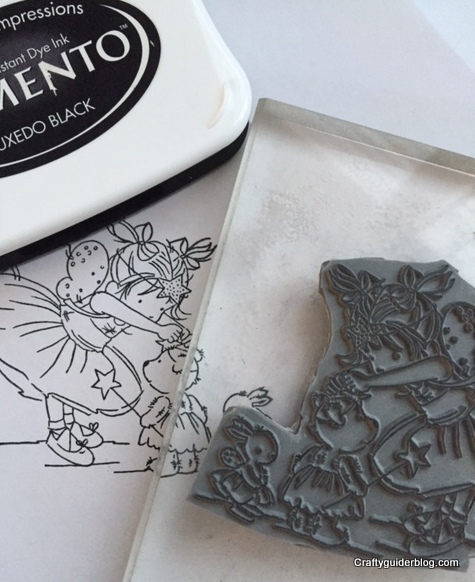
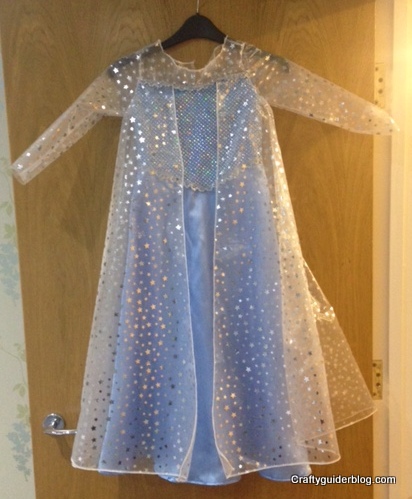
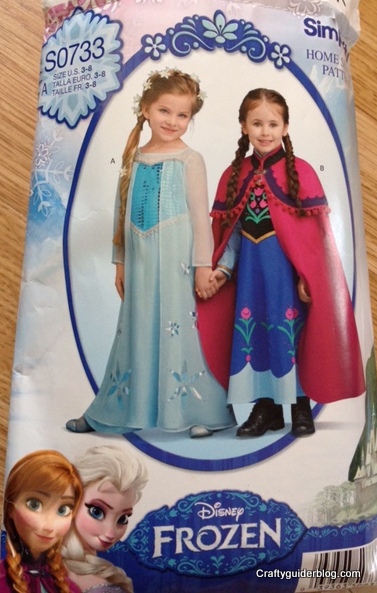
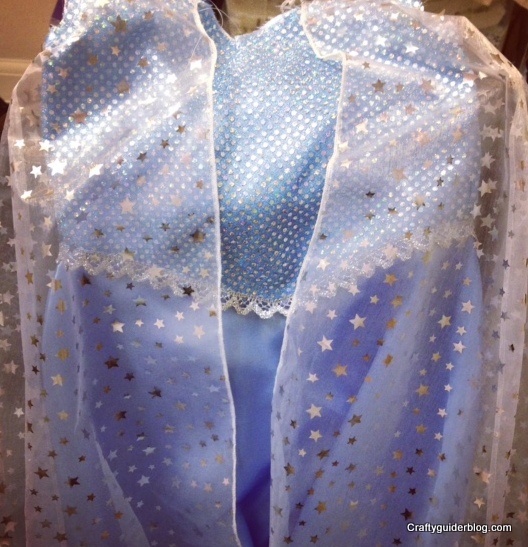
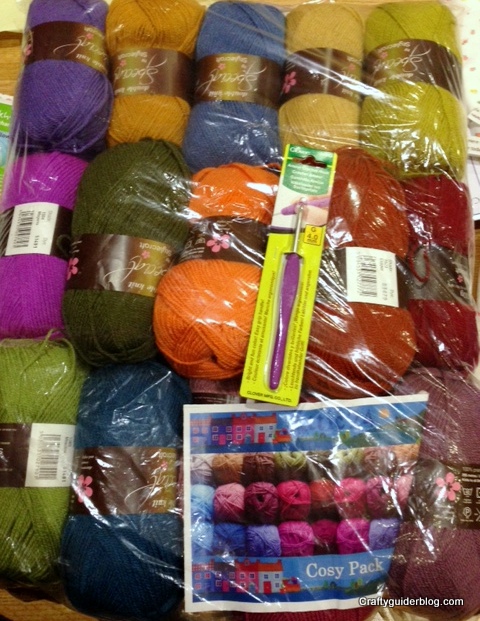
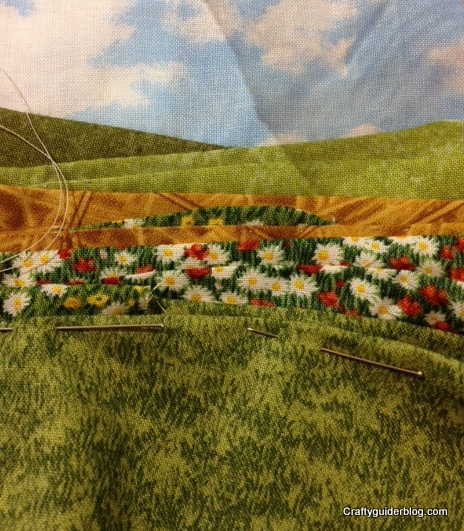
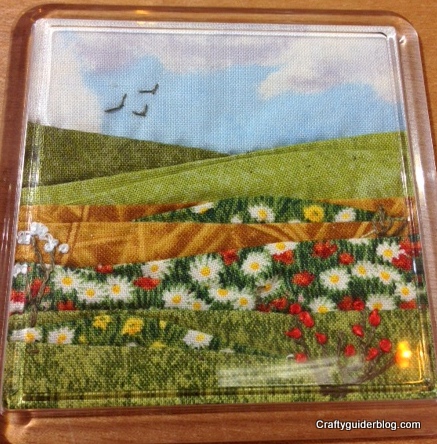
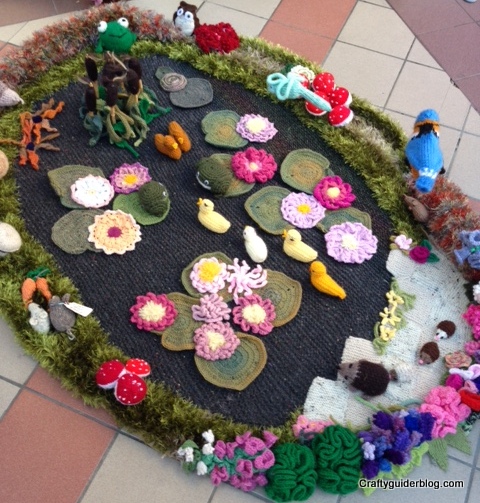
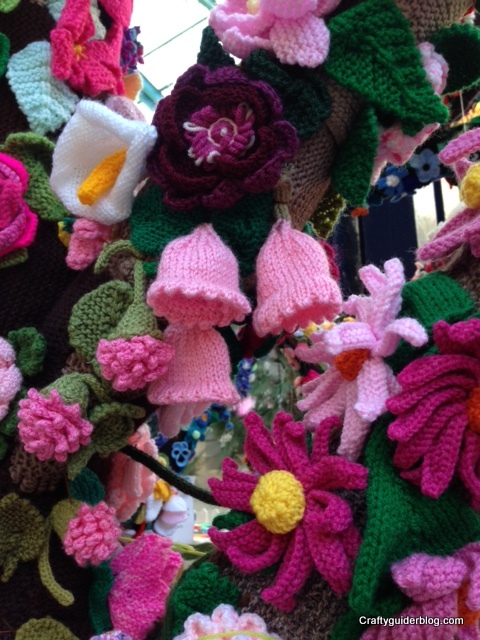
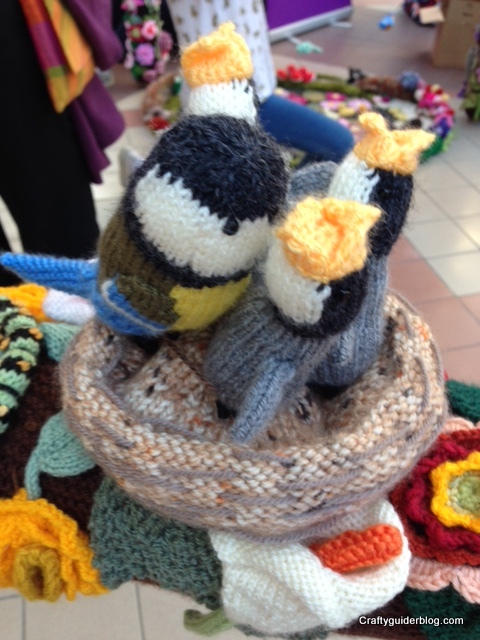
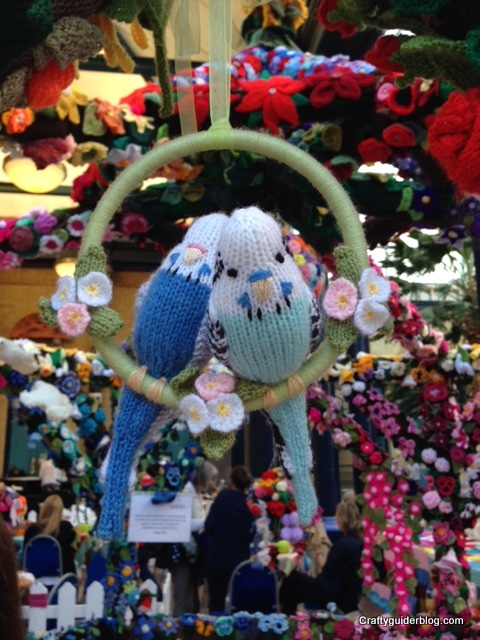
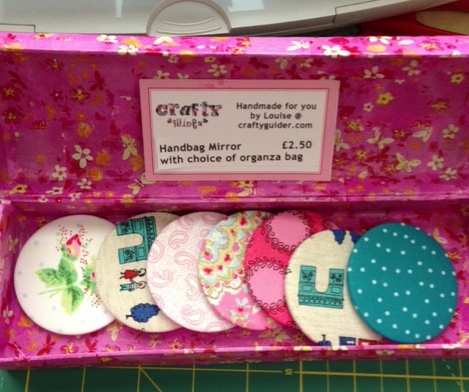
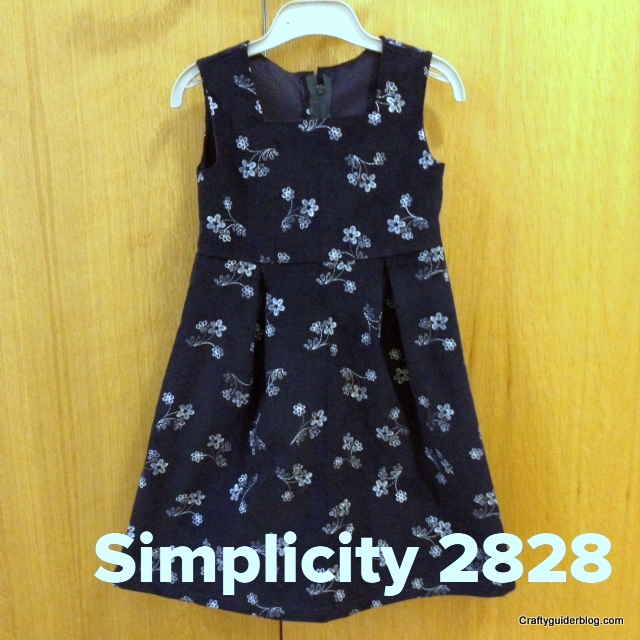
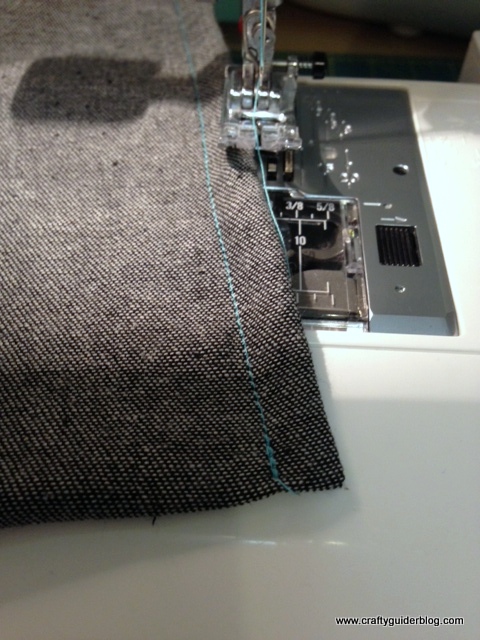
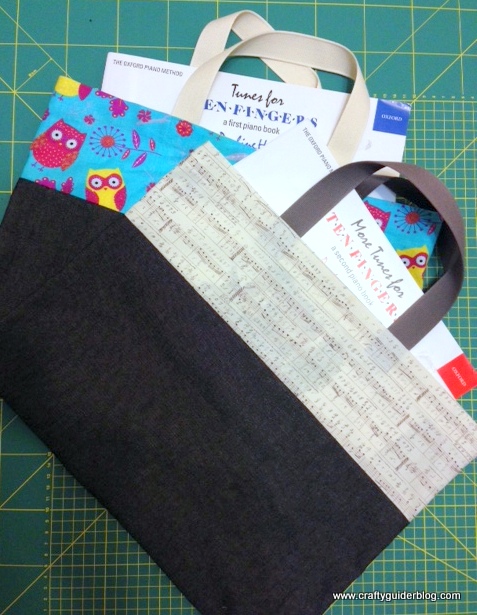
I have been crafting.   I’ve caught up on some craft projects that were years old, and some craft kits that were only hours old.   I still need to get lots of things completed (or started having bought all the stuff in preparation!), and I’ll try and make time for those in 2018.   I also need to make huge inroads into my scrapbooking, and my Trefoil Guild Bronze award must be finished soon.   Just one clause to go.

One thing that has held back my creativity is the amount of stuff I have.   The clutter means that I don’t have room to create to use up the stuff that is taking up all the room!   I have made an effort to declutter and I’ll carry on.   I just need to figure out what I can do with everything I’m getting rid of.   I’m not going to attempt to Kon Mari my life.   My aim for 2018 is to gain sole control of the office as my craft room, and to be able to contain all the craft materials spread all over the house in there.

My volunteering has expanded this year.   As well as my Guide unit and WI committee responsibilities, I’ve also opened a Brownie Pack.   Towards the end of the year, I was just snowed under with paperwork, running workshops, organising meetings and everything else life threw at me.    I need to get that under control and stop over-committing.

Further changes in 2018 need to be to waste less and accumulate less.   Can I lose weight and get healthy too?

Wishing everyone a fabulous 2018!

Fiskars Simple 3-in-1 Tag Maker

Fiskars 3-in-1 Tag Maker ReviewI have been looking for a tag maker for some time but haven’t been able to find one I trusted with the dimensions I wanted.   Watching the new series of Crafty Beggars in the House! on the Community Channel, I saw them use some Fiskars tag punches to upcycle some cards – exactly what I needed!Fiskars simple 3-in-1 Tag Maker With EyeletsI bought mine from Amazon and chose the Simple design as I like the shape.   The tag punch is substantial and sturdy – what I expect from Fiskars – and comes with 20 metal eyelets.   I have a large stash of last year’s Christmas cards and set to work on them to make some tags for this Christmas.Fiskars Simple 3-in-1 Tag Maker Card PreparationHaving selected the area of the design to use, I trimmed the card so that I could get the punch in the right place.Fiskars Simple 3-in-1 Tag Maker Punching TagWith punches, I always find that turning the whole thing upside down and viewing the design through the aperture gets it cut out accurately.   The punch cut through really easily, even on cards with glitter or cards with textured finishes.Fiskars 3-in-1 Tag Maker Punching HoleOnce the card is cut, there is another slot to put the tag into to get the hole cut accurately.Fiskars 3-in-1 Tag Maker Punched TagRight on the pompom!   The tags can be left like this with ribbon or string threaded through the hole (as a good Guide leader, I use a cow hitch or lark’s head knot).   The pack also comes with metal eyelets which can be used to reinforce the hole and make a really professional finish.Fiskars 3-in-1 Tag Maker Applying EyeletSimply feed the hole in the tag over the post under the handle, add an eyelet and squeeze.   It doesn’t feel like you are doing much and that you need to press harder, but the eyelet attaches really easily.Fiskars 3-in-1 Tag Maker Finished TagI am never throwing away a card again.   I had some cards that I’ve used to make birthday tags, as well as the Christmas tags.   I also have my eye on youngest Craftyguidelet’s birthday cards at the moment, and they will be going through the punch as soon as they come off the mantelpiece.Fiskars 3-in-1 Tag Maker TagsI think this lot will get me though next Christmas, and all for just the price of the punch and a bit of twine.    I also have plenty of card in my stash to get me through every possible occasion outside of Christmas so if you need me, I’ll be punching tags out of whatever will fit in the machine!

Disclaimer: I own this punch and I haven’t been asked to review it, or been paid to review it.   All opinions are my own, and I have added some links to the normal Amazon site where I bought mine.   They are not affiliate links and I don’t get any money if you click on them.

Tutorial: How to mount an unmounted rubber stamp

how to mount a stamp as boughtThere are lots of different type of stamp available on the market.   When I started crafting *eh-herm* a few years ago, wood mounted blocks were the thing.   They are the ones with typically a red or grey rubber stamp stuck on a wooden handle.   They are easy to use but difficult to position on the page accurately as you cannot see the image when you stamp.   They are also bulky to store.

Clear stamps are great.   They cling to acrylic blocks so that you can use them, you can see where they are going to stamp and they are easy to store.

Sometimes though, you get lovely images on unmounted rubber stamps like the one above from one of my favourite stamp suppliers, Lili of the Valley.   They do have the storage benefits of clear stamps, but they need mounting before they can be used.

how to mount a stamp stick to mounting foamYou need to buy some mounting foam which has a permanent adhesive on one side, and a cling surface on the other.   I had an offcut (the light grey in the picture) which fitted my stamp, and I fixed the stamp to the permanent adhesive side.how to mount a stamp trim excessTo ensure a clean stamped image, carefully trim the excess foam and rubber leaving a small border around the edge.  Non stick scissors are good for this.   It helps avoid those annoying smudges at the edges of stamped images where the ink pad has caught the background as well as the raised image.how to mount a stamp trimmed stampThis is my trimmed stamp.   The foam backing gives an even image transfer as you can really squish it down when you stamp.how to mount a stamp finished stampI use Memento ink pads when I stamp an image I want to colour in with my Promarkers so the ink doesn’t bleed.

Isn’t it a gorgeous image?   It was chosen by youngest Craftyguidelet when she came to a craft show with me.   She’s got good taste!

Disclaimer: Any links contained in this blog are not affiliate links and I don’t get any money if you click on them.

My battle with an Elsa dress

Elsa dress completedDo you ever find that there is something that is stopping you doing something?   I don’t mean something physical like a broken arm or your sewing machine being away for a service for a few days.   I mean something in your head that is usually completely trivial.   A mental blockage.Elsa dress pattern Simplicity S0733Like lots of people, I’ve been enjoying the Great British Sewing Bee on TV and getting inspired to sew.   I have lots of dress patterns that I want to try, and some of them have gone as far as being packed in project bags with fabric and all the notions to complete them.Elsa dress fabrics from Plush AddictHowever, I am being thwarted by an Elsa dress.   Eldest Craftyguidelet wanted an Elsa dress last year, and we couldn’t get one.   Now they are everywhere, but I have all the fabric cut out to make her one.   Youngest Craftyguidelet has hers made already as she went to a Frozen party last year, but eldest is still waiting.   No deadline so no dress.elsa dress in progressI have the fabric and pattern.   It’s all cut out ready and sitting in my craft room.   I’ve already made one so I know what I’m doing.   I’ve even got the basics sorted for my overlocker.   I’m just not making the dress.

Elsa dress overlockerThis procrastination over the dress is stopping me making other things.   It’s fixed in my brain that I have to finish this dress for my little girl before I can start on something else.   All sorts of thoughts are going round my head about prioritising something for my girls over all the other stuff for me, about getting it completed and ticked off the WIP list.   It is totally illogical and is annoying me and I’ve only got myself to blame.

So readers, I’m going for it.   This Elsa dress won’t beat me.   And then I have some Liberty fabric waiting to be made into a blouse…

Messers Valentine and Valentine (and Valentine…)

Valentine cardFebruary 14th is on it’s way and millions of people will be exchanging cards, men will be raiding garage forecourts for flowers and fretting over what size their other half takes in uncomfortable lingerie, all in the name of St Valentine.

IMG_2159 revised

However, did you know there is more than one St Valentine’s Day and more than one St Valentine?

Here in the West we celebrate on February 14th, but the Eastern churches celebrate twice in July, and Brazil chooses June 12th.   Furthermore, there are two Saint Valentines celebrated on 14th February.   A whole lotta love!

Mwah! badgeOver the centuries, St Valentine’s Day has moved towards a celebration of romantic love through traditions and literature.   The tradition of giving cards and gifts started in the UK and then spread worldwide.

IMG_7679

This year, perhaps look out for something handmade rather than a mass printed card from the supermarket, or have a browse online for ideas to make yourself.   I’ve pinned some ideas on my Pinterest board, and I’m sure there is plenty more “research” to be done!

Follow Louise Craftyguider’s board Valentines Day on Pinterest.

Dear October

COFFEEWhat was that all about then?   Eh?   Two measly blog posts and enough illnesses, aches and pains to get me really fed up.

Aims for the month?   Miss Beatrix’s wonderful #BashSAD challenge and Fat Mum Slim’s #fmsphotoaday challenge.   Result?   A reasonable attempt at the former but a lousy attempt at the latter.Girlguiding Big Gig Mike DignamThe Girlguiding Big Gig was great and the Guides really enjoyed themselves.   That’s not me in the photo by the way!Knitted blue tit and peanuts pergolaEven better was the Knitting and Stitching Show at Alexandra Palace.   A lot of the bits I bought remain unused, but I did make one of my kits from The Spellbound Bead Co.Orbit earrings Orbit necklaceSo October, although we were crafty together, and we survived Half Term, I need to move on from the procrastination and feeling rubbish.   Hopefully November will give me the spark to get my backside into gear and get a move on in the push towards 2 craft fairs and Christmas.

How are your preparations for Christmas?

Knitting and Stitching Show 2014

B L U E B E R R YIt’s that time again.   My annual pilgrimage to Alexandra Palace for the Knitting and Stitching Show.   This year I had to go on the Saturday so I could get someone to look after the Craftyguidelets and it was absolutely HEAVING!   I’m glad I decided to do most of my shopping on the first trip round, especially the fabric, as I could hardly move later on.Fabric stash knitting and stitching showThe blue fabric is gorgeous Liberty Tana Lawn and will become a blouse, and the other two are the softest knitted fabrics from Eternal Maker and will become pyjamas for the Craftyguidelets.   They sent me on a mission to get some fabric for their Elsa dresses but no one was selling any.   The nearest I found was a stand that had scraps of turquoise shiny scraps.   When I asked if they did bolts of the fabrics as I was making Elsa dresses, the owner looked at me in a puzzled way.   I clarified “Elsa, from the Disney film, Frozen”.   Complete blank look.   I’ve found the only person who has never heard of the film!Ribbon stash knitting and stitching showThese ribbons are from Crafty Ribbons.   I have some card designs in mind for the tape measure ribbons, and the others made up the multi buy offer.   “If I knit fast enough, does it count as aerobic exercise” and “Behind every knitter is a huge pile of wool” are two of the great quotes on the knitting one, and “Chocolate: here today, gone today” and “Chocolate…NOT just for breakfast” are on the chocolate one.Bead stash knitting and stitching showThis is my beading stash. The turquoise and white beads with the spacers are going to make the Craftyguidelets some Elsa jewellery with some snowflake charms I got before (spot the Craftyguidelet theme here!)   The others are kits from Spellbound Bead Company.   The Christmas tree earrings are a bit of fun for decorations day at school later in the year, the necklace looks stunning and the 3D stars will look great on my Christmas tree.Wool stash knitting and stitching showI blame this purchase on @Meanyjar.   She taught me crochet back in January and look at these gorgeous colours!   OK, I didn’t need much leading astray.   The colour selection was made by Attic 24 with Stylecraft for a crochet along later this month.   There were another 3 colour palettes but this was my favourite.   If the crochet along is too complex for my newbie skills, there are other patterns I can follow on Lucy’s blog.   My vision is of me crocheting a beautiful blanket over the colder months in front of the fire.   The truth may be lots of YouTube videos and frantic calls to Meanyjar for help!Foundation piecing landscape coasterI also did a workshop while I was there.   This is my start on a foundation pieced landscaped coaster, and this is the finished version I am aiming for by the tutor Sally Holman.Sally Holman landscape coasterIt was great to learn a new technique, and it was nice to have a sit down for an hour without lugging heavy bags around.Knitted pergolaThis knitted pergola was in the entrance hall.   The details were stunning.Knitted pond pergolaKnitted flowers pergolaKnitted blue tits pergolaThe birds are my favourites, especially the blue tit with the peanuts and the budgies!Knitted blue tit and peanuts pergolaKnitted budgies pergolaAnd this view has been in my top 3 for many years.   It used to be on my way home from my Saturday job working for my mum and dad in their bakery, and any excuse to divert to look at this view is worth it.Alexandra Palace view

Dear September

Hi!

Where did our time go September?   30 days and it was all over!

You gave me glorious weather (mostly!) and lots of time in the garden appreciating the wonderful flowers still blooming their socks off.   Considering that from February to April it looked like a muddy mess, now it’s landscaped and lovely.autumn garden 3

My little Leprechaun turned Imp now has her Brownie Gardener badge for the hard work she put in sowing seeds, thinning out, weeding, watering and finally clearing away.   Hopefully she’ll help again next Spring, and her grandparents want to hire her for her skills with a seed packet.

simplicity 2828 finished dressI achieved things, September.   This pretty dress for Rainbow Craftyguidelet, some cards, some bunting, and even a tutorial for the book bags I made for the Craftyguidelets’ music lessons.   Sales have been picking up with Craftyguider following a bit of promo work, and the big push to Christmas starts now.   The Christmas shop is now open.   I just need to fill it up a bit more!christmas tree decsMy Guiding life has started again.   Guides and Rainbows are back, and once again I am juggling admin, trying to get as many girls as possible off the waiting lists and into units where they can join the fun, and trying to encourage more volunteers to come forward and help this to happen.IMG_8261I have also started Trefoil Guild which is like the WI for Guiding types.   It was so lovely just going to a meeting for grown ups, not being asked to do anything, not being responsible for anything, not feeling guilty for not doing more.   I just enjoyed the talk on the fabulous work of Guide Dogs and the puppy walkers.   Finally something just for me to enjoy!Harry Guide Dog 1WI planning has started again for our Handmade Christmas Craft Fair on 16th November.   I need to get a shifty on for my stall!photo (59)

But then just like that it was over September.   30 days of full on busyness and then phwoomp!   October happened.

Autumn is here and I’ll be joining in with Miss Beatrix’s #BashSAD challenge to banish the blues of the shorter days.   I’m also attempting to complete a whole month of the Fat Mum Slim #fmsphotoaday challenge on Instagram.   My house is finally gaining some order after a summer of neglect, the kids are settled at school.   Let’s do this October!

What was that?   Half term at the end of the month?   *sticks fingers in ears and pretends not to hear*

What are you up to this month?

Simplicity 2828 – WIP Finish

simplicity 2828 title dress2 years ago (or was it 3?) when Craftyguider was still starting up, I made a duffel bag for eldest Craftyguidelet’s PE kit at school.   One of the mums at school saw it and asked if I could make one for her daughter.   She wanted something in a dark fabric that would be quite hard wearing, so off I popped to the local habby and found this.
simplicity 2828 fabricI love this navy corduroy with the embroidered flowers on it.   I bought some for the bag and got a bit extra to make a dress for youngest Craftyguidelet.
simplicity 2828 patternI was taken by Simplicity 2828.   I don’t think I’ll be making the fluffy hat somehow, but the pinafore was spot on.   The Project Runway patterns enable you to pick different design elements to personalise your own creation.   I didn’t want any of the ruffles or bows so I just did the basic square neckline dress.   Earlier this year I got on and cut out all the pieces for an age 5 girl so that youngest Craftyguidelet could grow into it.   She is now 5 and a half and tall for her age so perhaps she won’t have that long in it.   My fault for stalling all this time!   Note to self: don’t trace patterns or cut fabric until you are ready to make the whole dress!
simplicity 2828 finished dressEt voila!   I love how it has turned out, and luckily little Craftyguidelet loves it too.   It even goes over her plaster cast at the moment which is a big plus.
simplicity 2828 curly wurlyShe was so pleased with it that she brought me a mini curlywurly from the chocolate drawer.   What?   You don’t have a chocolate drawer in your house?   You are missing out!

So about 3 years after I planned to start the dress, it is now finished.   Have you got any long term WIPs in your basket?

Book Bag Tutorial

book bag tutorial title pageThe Craftyguidelets are very lucky to go to a school where they can have piano lessons during the school day.   Eldest started last year, and youngest has her first lesson today.

During the summer holidays, eldest Craftyguidelet reminded me that I had promised to make her a bag to put her piano books in last year.   This prompted youngest Craftyguidelet to ask for one too.   As we were standing in the fabric department in John Lewis, I was cornered.   I am naturally weak when it comes to resisting the purchase of fabric anyway, so I bought some lightweight black denim for the main body of the book bags.   Eldest Craftyguidelet chose the nice Tim Holtz music fabric, and youngest Craftyguidelet chose the owls.book bag tutorial fabric choices

I was going to make book bags with a velcro fastening flap like their normal school book bags, but instead we compromised on a simple tote bag style (these bags were made the night before their lessons so I was going for the easy option!).   My finished bag measures 41cm long x 30cm tall (excluding handles) so check the dimension of your books and adjust accordingly before putting scissors to fabric.book bag tutorial owl bag finish

To make a bag you need:

* 1 piece of fabric 42cm x 46cm cut from main fabric
* 2 pieces of fabric 16cm x 46cm cut from accent fabric
* 2 pieces of webbing 45cm long

I’ve used a 1cm seam allowance unless stated otherwise.

1. With right sides together, attach one piece of the accent fabric to each end of the main fabric, matching the 46cm sides.   book bag tutorial sew seamIf your fabric design has a top and bottom, ensure the bottom of the pattern is next to your seam line or your owls will be standing on their heads!book bag tutorial sew accent panels onto each end of main fabricNeaten edges and press the seams flat.book bag tutorial neaten edges

2. Prepare the hem for the top and bottom edges by ironing a small fold and then a larger fold to make an enclosed hem.   I used 1cm and then 3cm.book bag tutorial hem top and bottom

3. Position the handle 14cm from each edge under the fold you have just ironed.   book bag tutorial inserting webbing handleFold the hem back over the handle and stitch the hem closed close to the edge.book bag tutorial handle placement

4. Fold the handles up and sew in a cross pattern to secure.   Repeat for the other handle.book bag tutorial fold handles up and secureOCD and perfectionist crafters look away now.book bag tutorial handle sewing crossIt was late at night when I did this so my cross isn’t sewn to my usual high standards!

5. Fold the fabric wrong sides together (yes, wrong sides!), matching the hems.   Stitch the side seams.   book bag tutorial french seam wrong sides togetherTrim the seam allowances slightly.

6. Turn inside out and stitch again to make a French seam, making sure you enclose the raw edges fully.book bag tutorial french seam right sides together

7. Turn right side out and press.book bag tutorial owl and music bag finish8. Marvel at the lovely bag you have just made in hardly any time at all!

You can use my tutorial to make bags for your own personal use only.   Please do not reproduce the tutorial in any way without permission.