
I like making cards. It’s one of the reasons that Craftyguider came into being. I had so many things I wanted to try, and not enough friends and relatives to send cards to! I can now make what I want, when I want, and any cards that aren’t intended for a specific recipient, go into my shop stock. I sometimes raid my stock for cards too as everything I make is the same quality as I would use for my best friend’s card.
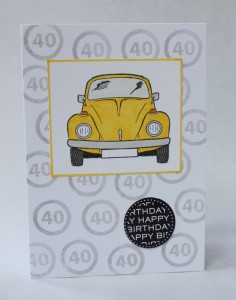 personalisable car card from craftyguider.com
One of the techniques I’ve never used is digital stamps. Some of the paper crafters on twitter rave about them, but I’ve only ever used the stamps you ink up and print yourself. Digi stamps provide the same outline image as an inked stamp, but they differ in that you can manipulate the image, for example by changing the size or flipping the image. There is no physical stamp to store either as, once purchased, the image is emailed to you to download and store on your computer.
Handmade Harbour has come into the world of digi stamps in the last few months. Wendy Massey has many gorgeous designs for almost every occasion to purchase and use to make cards. She recently offered bloggers the opportunity to use digi stamps in a tutorial, and I was lucky to be chosen to receive a selection. This will be the first time I’ve ever used digi stamps so this is a true beginners guide.
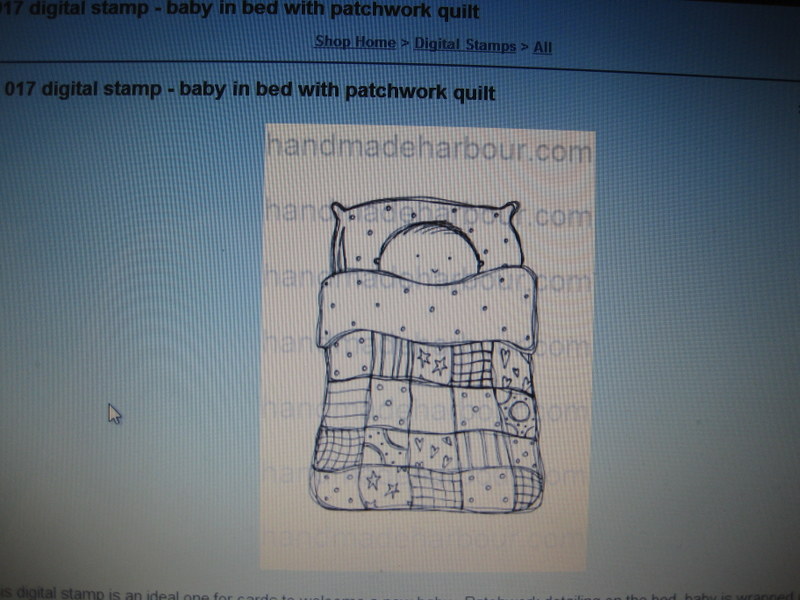
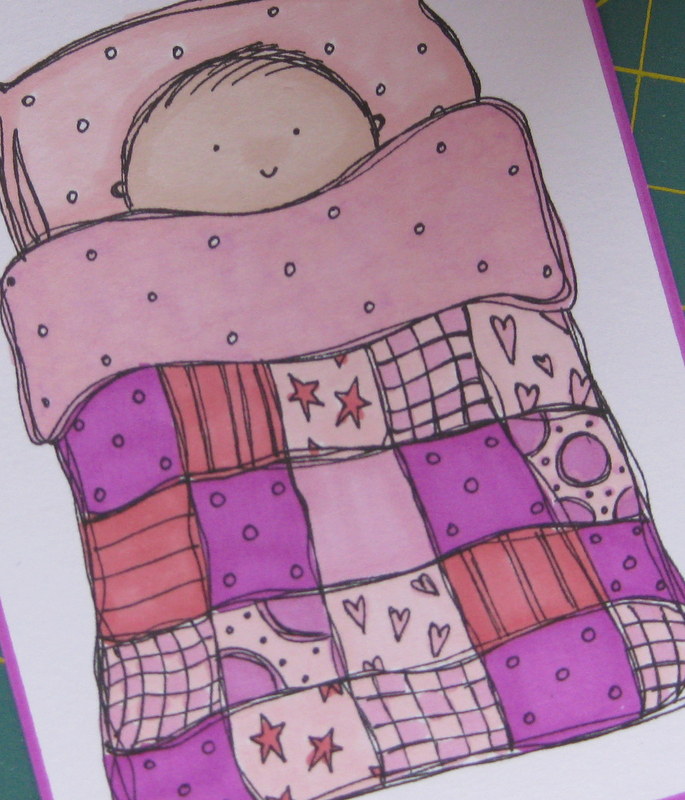
1. Obtain your digi stamp. I chose this cute baby in bed with patchwork quilt as there are a number of babies due to friends and family in the next few months.
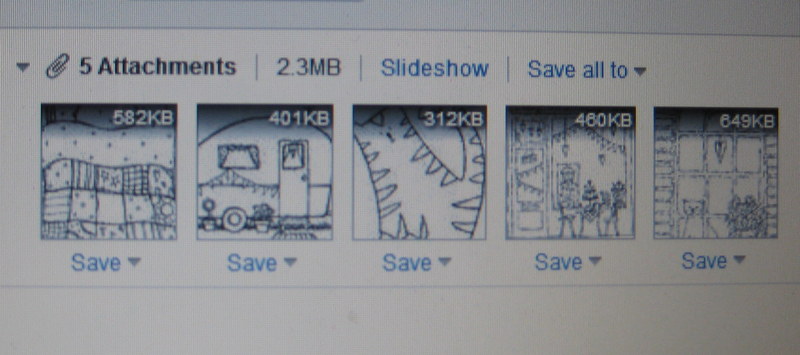
2. Save the image that is attached to the email you receive to your computer. I am no techie, but I managed this without help. Going well so far!
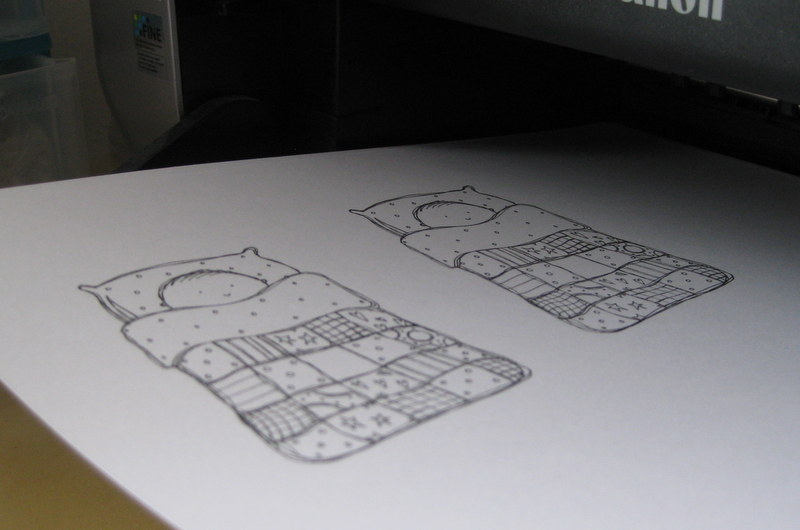
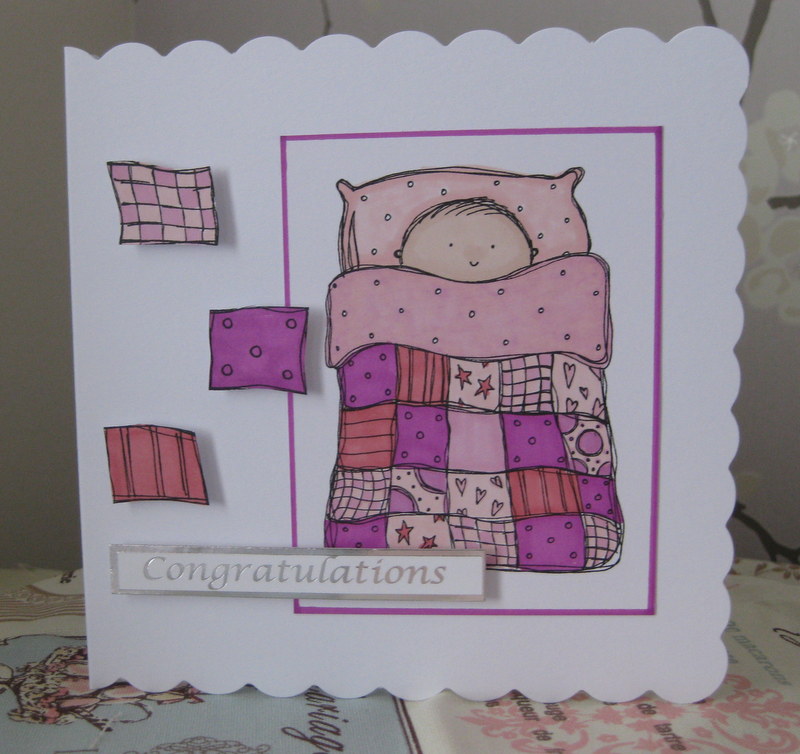
3. For simplicity, I copied and pasted the downloaded image to a new Word document. I only needed to change the size and didn’t need any accurate dimensions. It was my first attempt and ‘ish’ was good enough. I based my design on a sketch from a Craftwork Cards Recipe Card from QVC. Even though my card will look nothing like this, the elements I use will fit the sketch in the top right hand corner.

4. Print the design onto good quality paper or light card. Whatever you can get through your printer. Trim the image leaving a border.
5. And now the fun part – colour it in! I love promarkers, but you can use whatever colouring method you prefer. tip – I made a border around the edge using a ruler and a promarker so the image matched
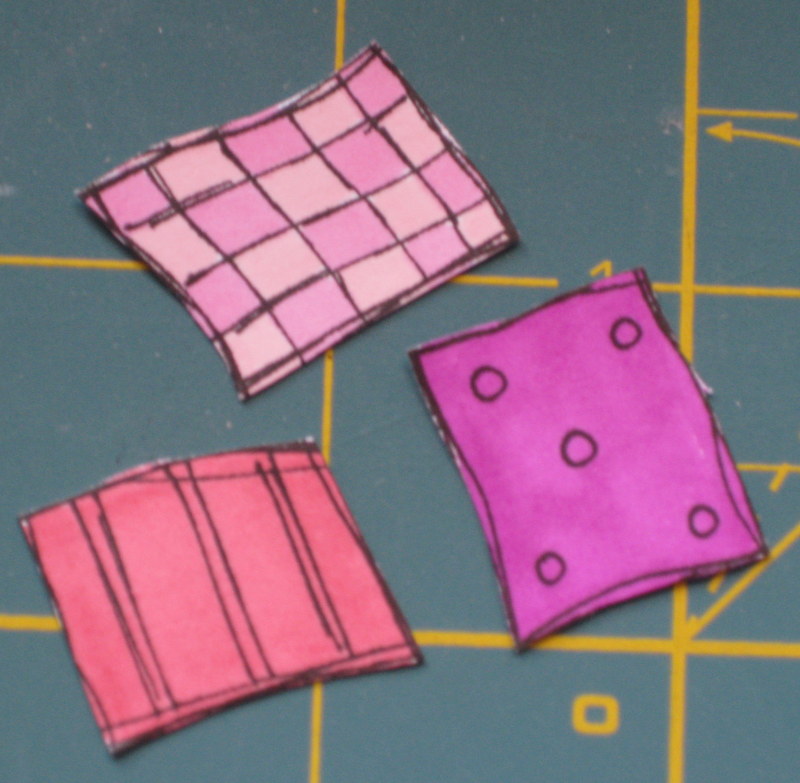
6. I printed another image slightly larger and used three squares as my accents. I raised these and the ‘congratulations’ message using sticky foam pads. tip – if you are posting your card, it’s cheaper to send if the image is flat rather than using foam pads
7. Ta dah! Now I’m going to hurry down the road to my neighbour’s house as she’s just given birth to a lovely baby girl. Hope she likes it!
I obtained the digi stamp for free from Handmade Harbour, but the words, images and opinions are my own.
Gorgeous Louise! Well done on bringing my image to life in what was a first attempt at using digis! I love that you used elements of the patchwork cover as accents! Thanks for the tute!
Thank you so much for this tutorial, love it! I can now use all those images that I saved lol